This is our first video at Minimalistic PC's. A big thank you goes out to…
CURV3D: Update 1
Well where should I start, CURV3D was started as a small side-project in 2011 which grew and grew into a much bigger project. I kind of “finished” this project twice, but it never felt like it was what I wanted it to be.
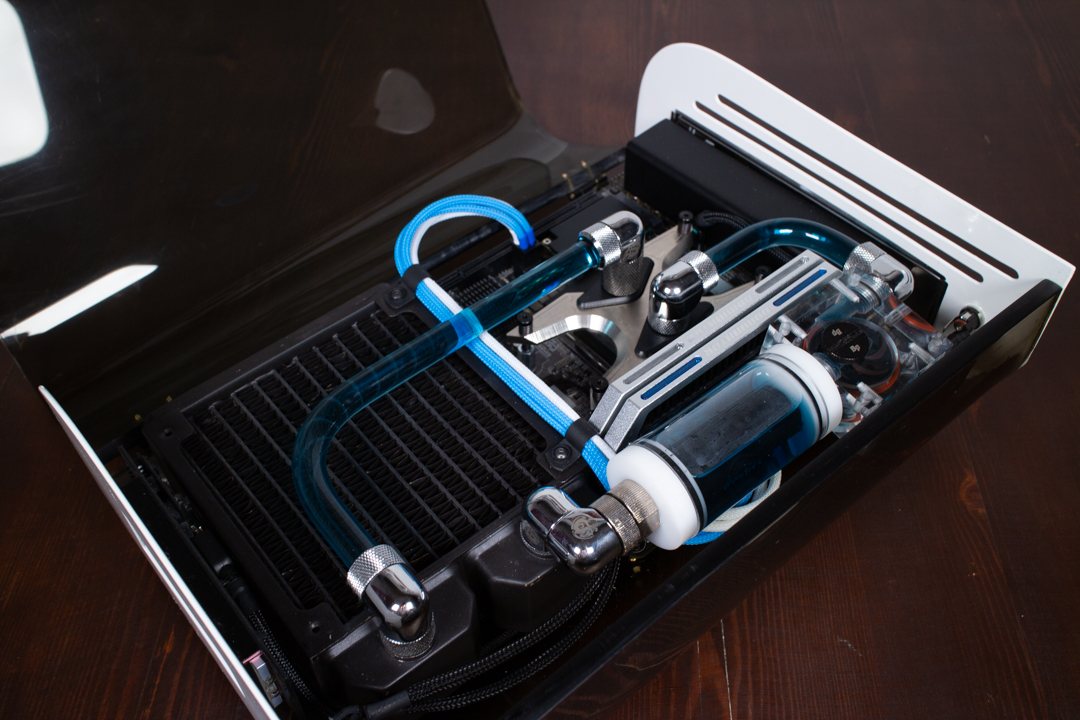
So now I will try a third and last time to really make it exactly as I want it, which means small scratchbuilt case, pretty powerful hardware that will be watercooled this time, which will be a big challenge in a small case like this. I will start by cooling the AMD A10-7870K with a Corsair H75, after that I will go for a completely custom loop.
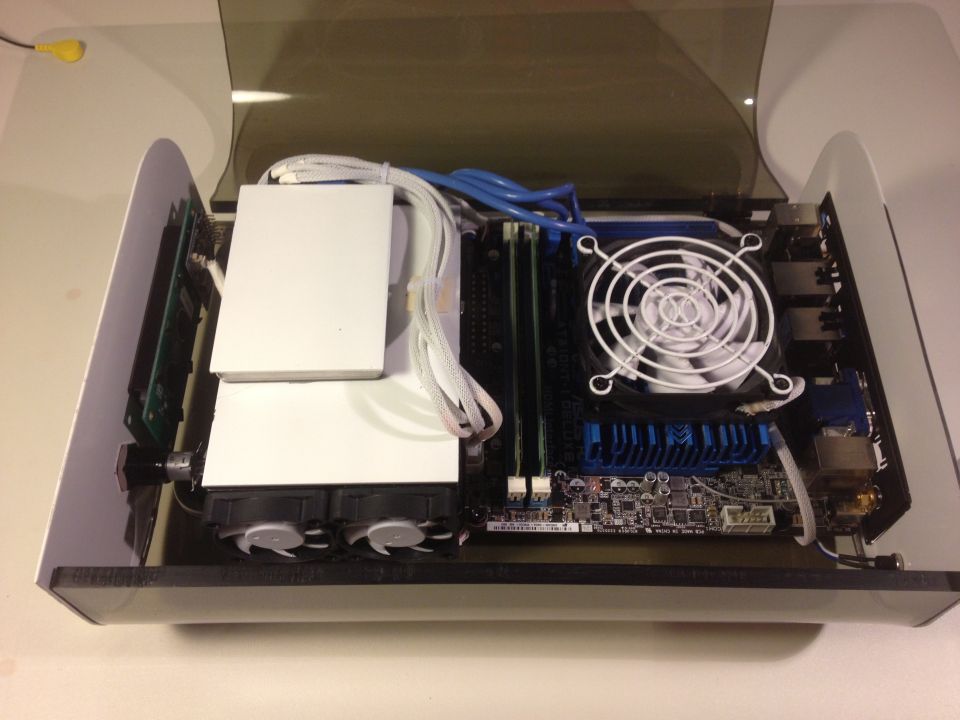
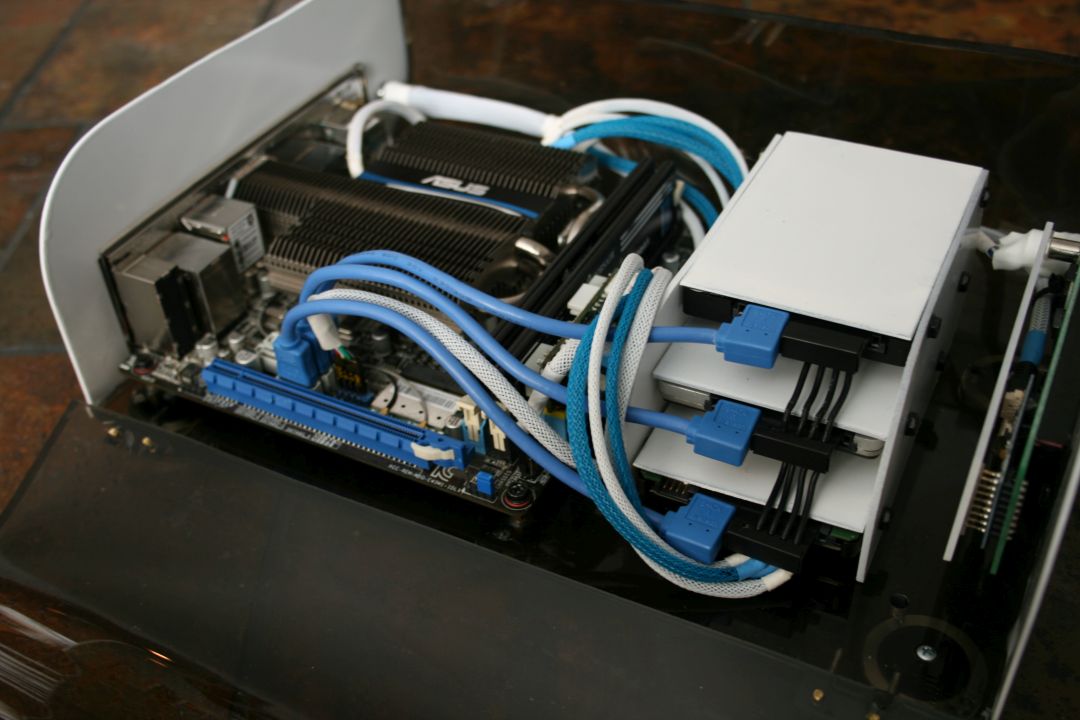
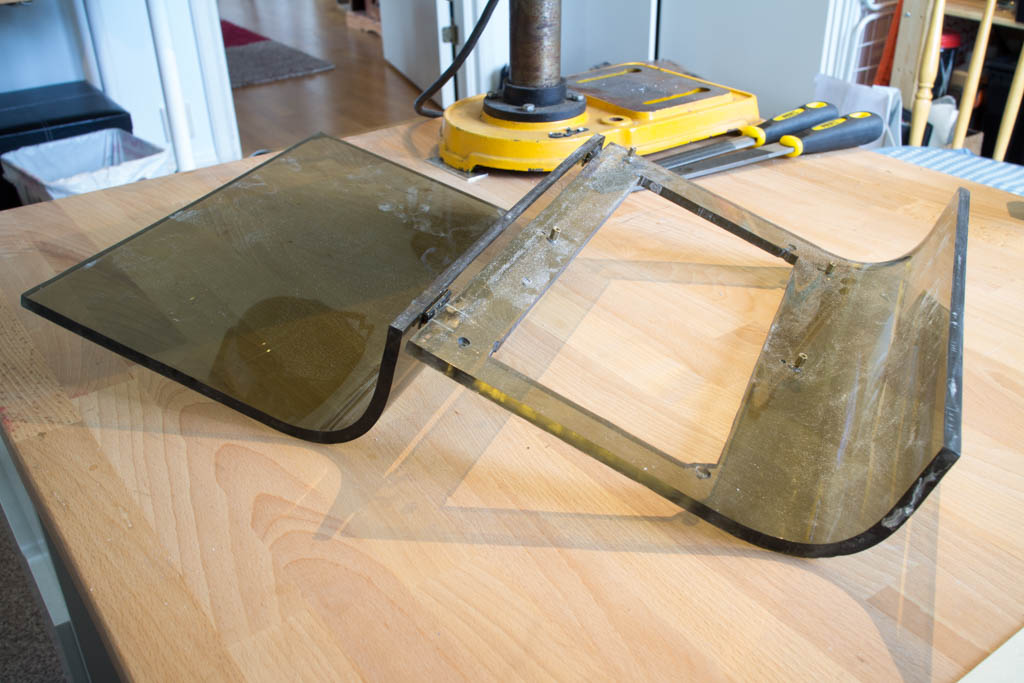
If you want to see how the case looks when I last finished a build in it you can go over to our project section where you will find it there, but I will show you two pictures here of how the internals looked like in the first and second “version”.
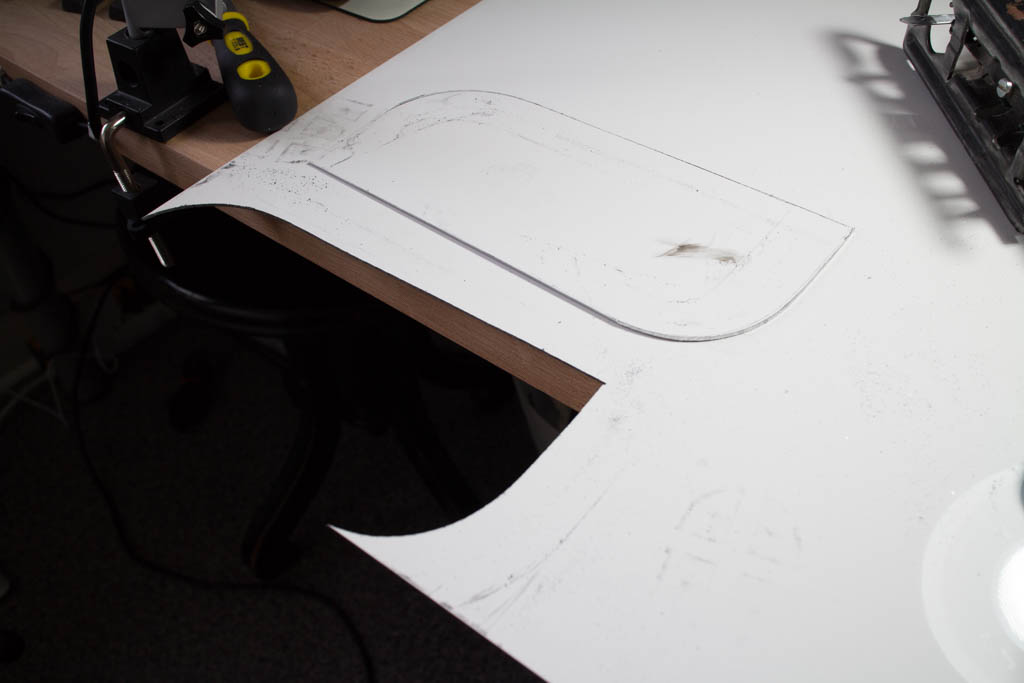
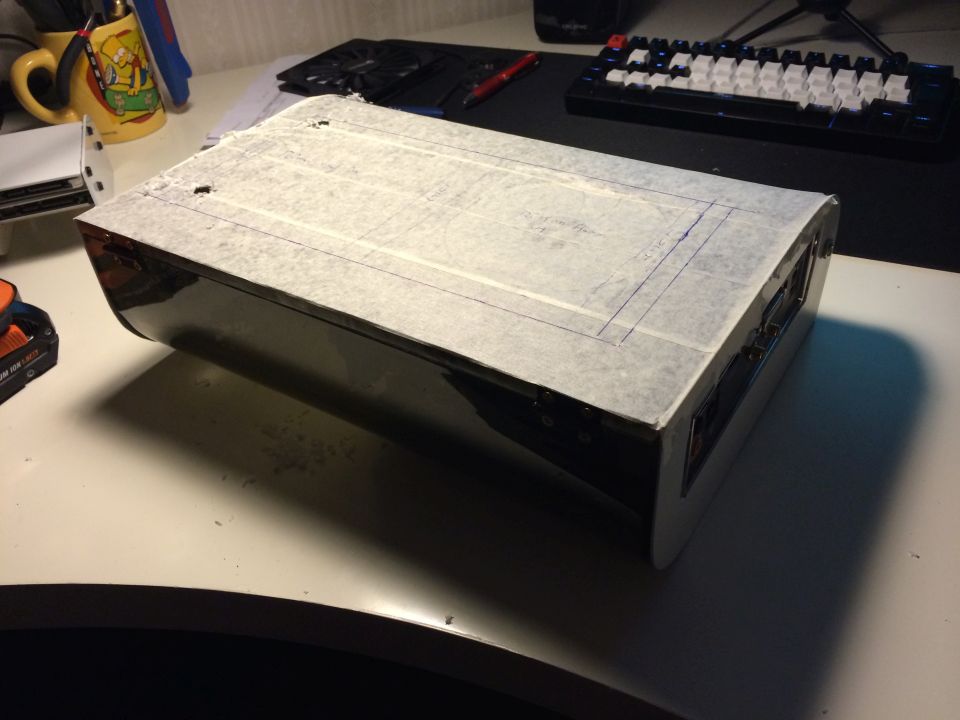
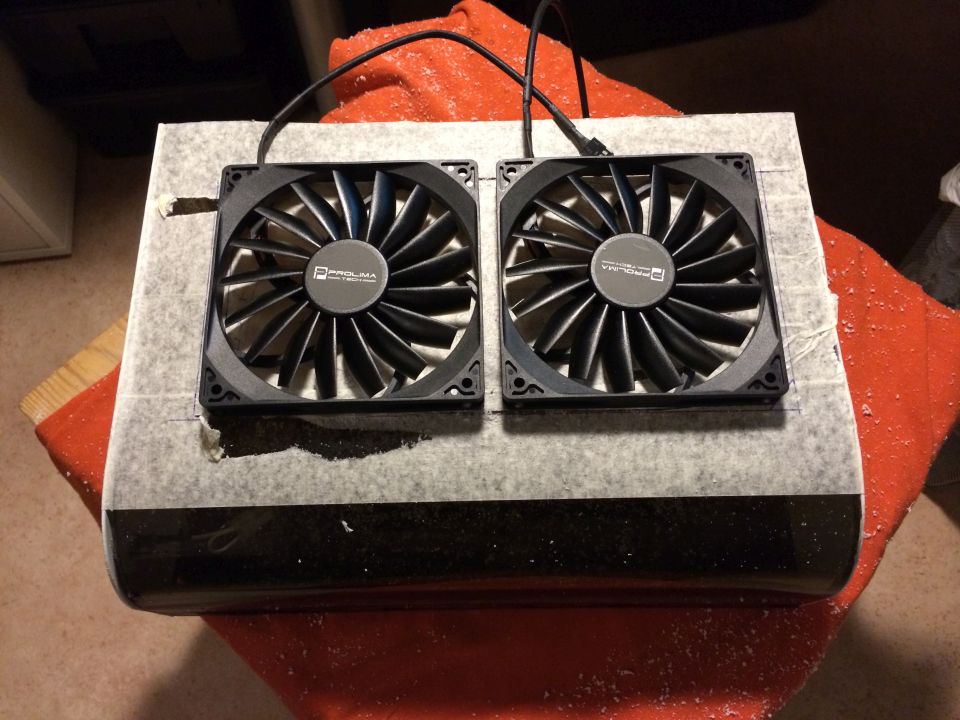
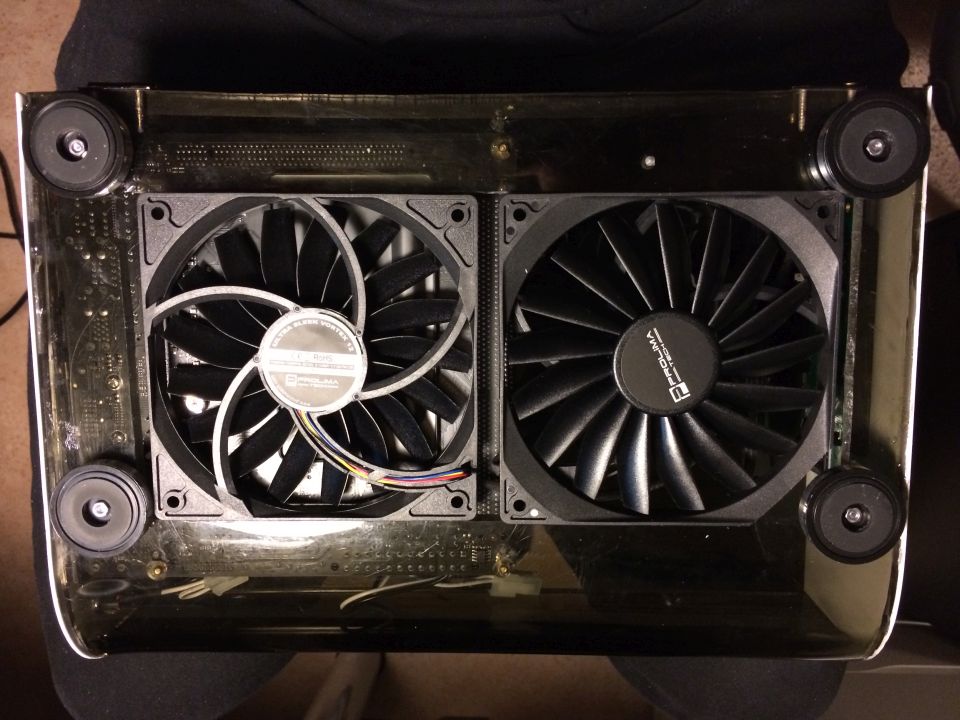
This time I will be using more powerful hardware which will be needing better cooling, so lets start by making the case able to have better airflow. Before there were a hole in the bottom for only 1x 100mm fan, now I have opened it up to be able to have 2x 120mm fans, I marked everything out and cut it out with a dremel and jigsaw and then filed down the edges.
The left fan will be pulling air out of the case, under the motherboard and the right fan will be blowing cool air into the case through a radiator which then will be cooling the water coming from the CPU.
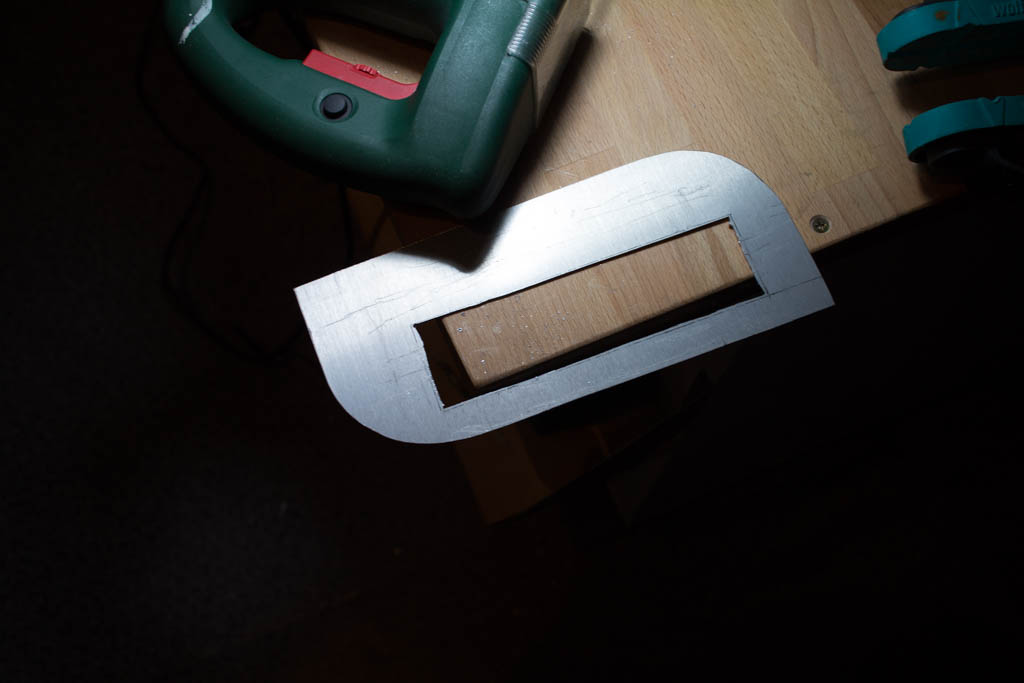
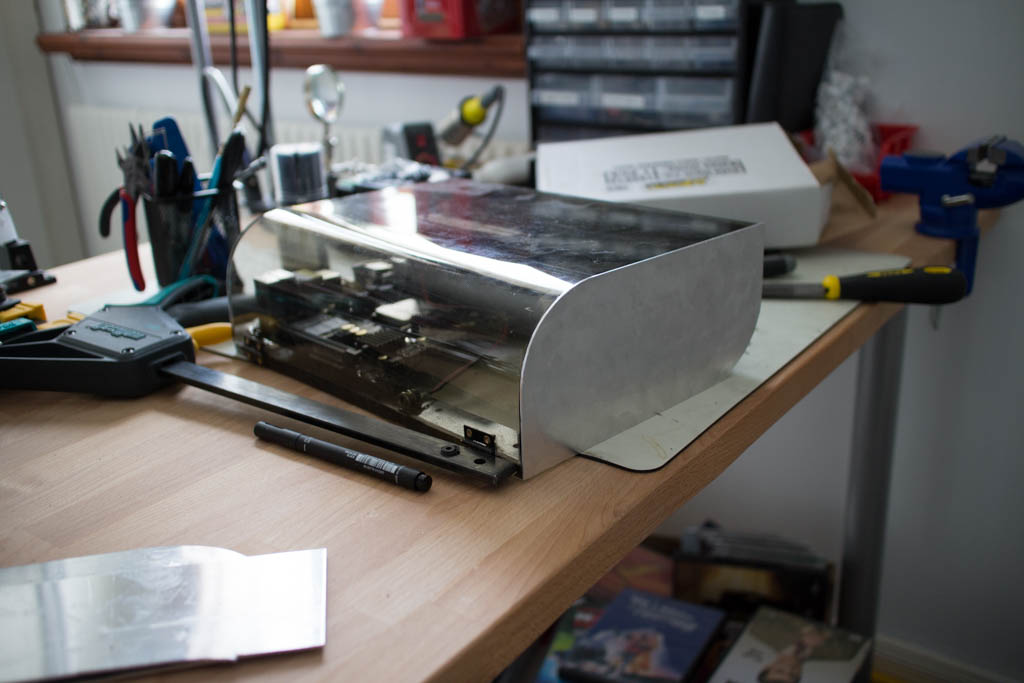
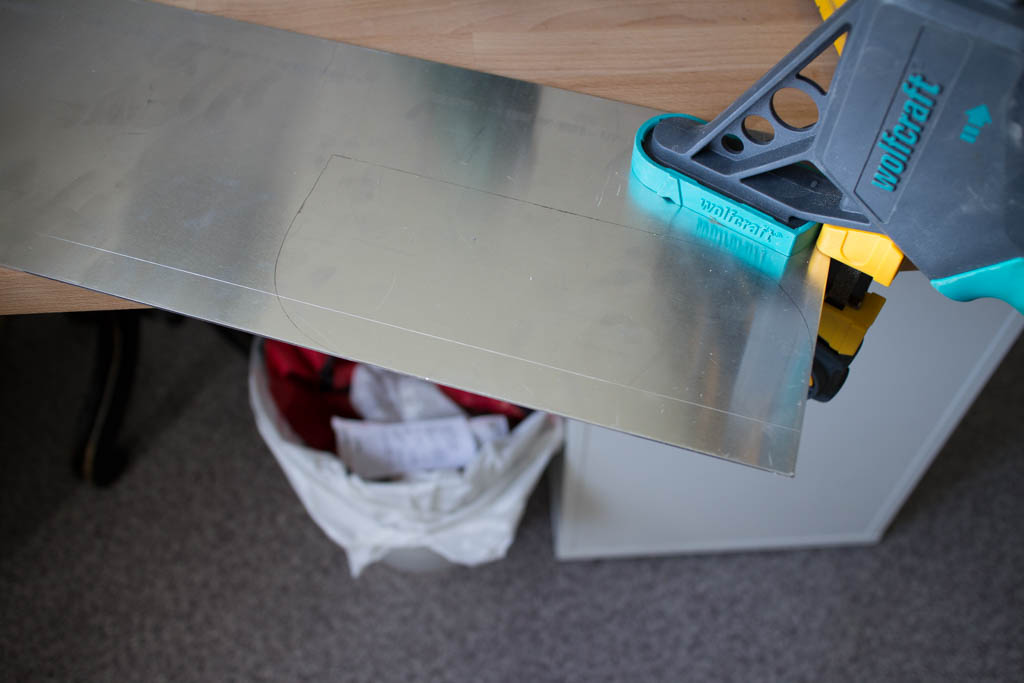
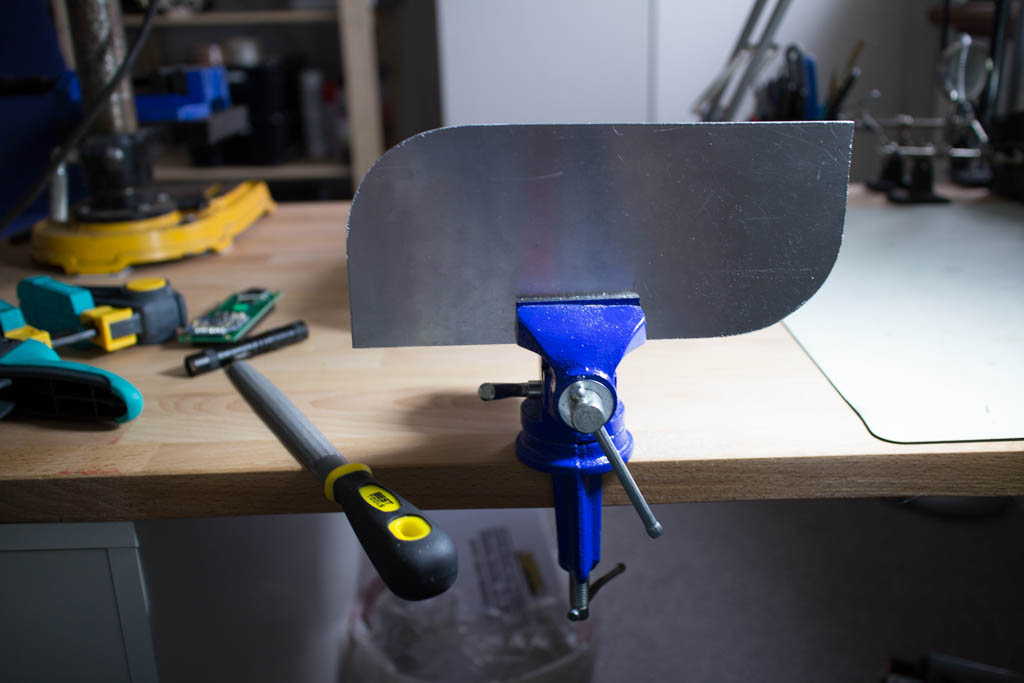
Next thing to do was to make new frontplate, this time in aluminium instead of stainless steel. I started by marking out the shape on a 1.5mm sheet of aluminium and then cut out the rough shape with a jigsaw. After that it was time to file it down so it fit the front of the case perfect.
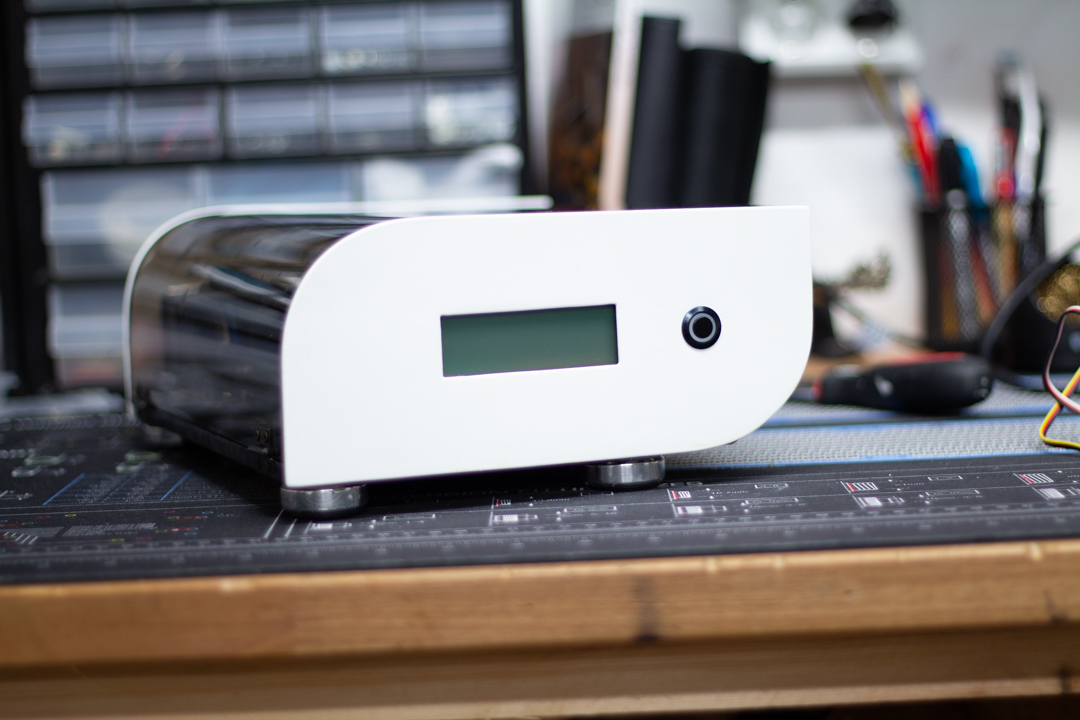
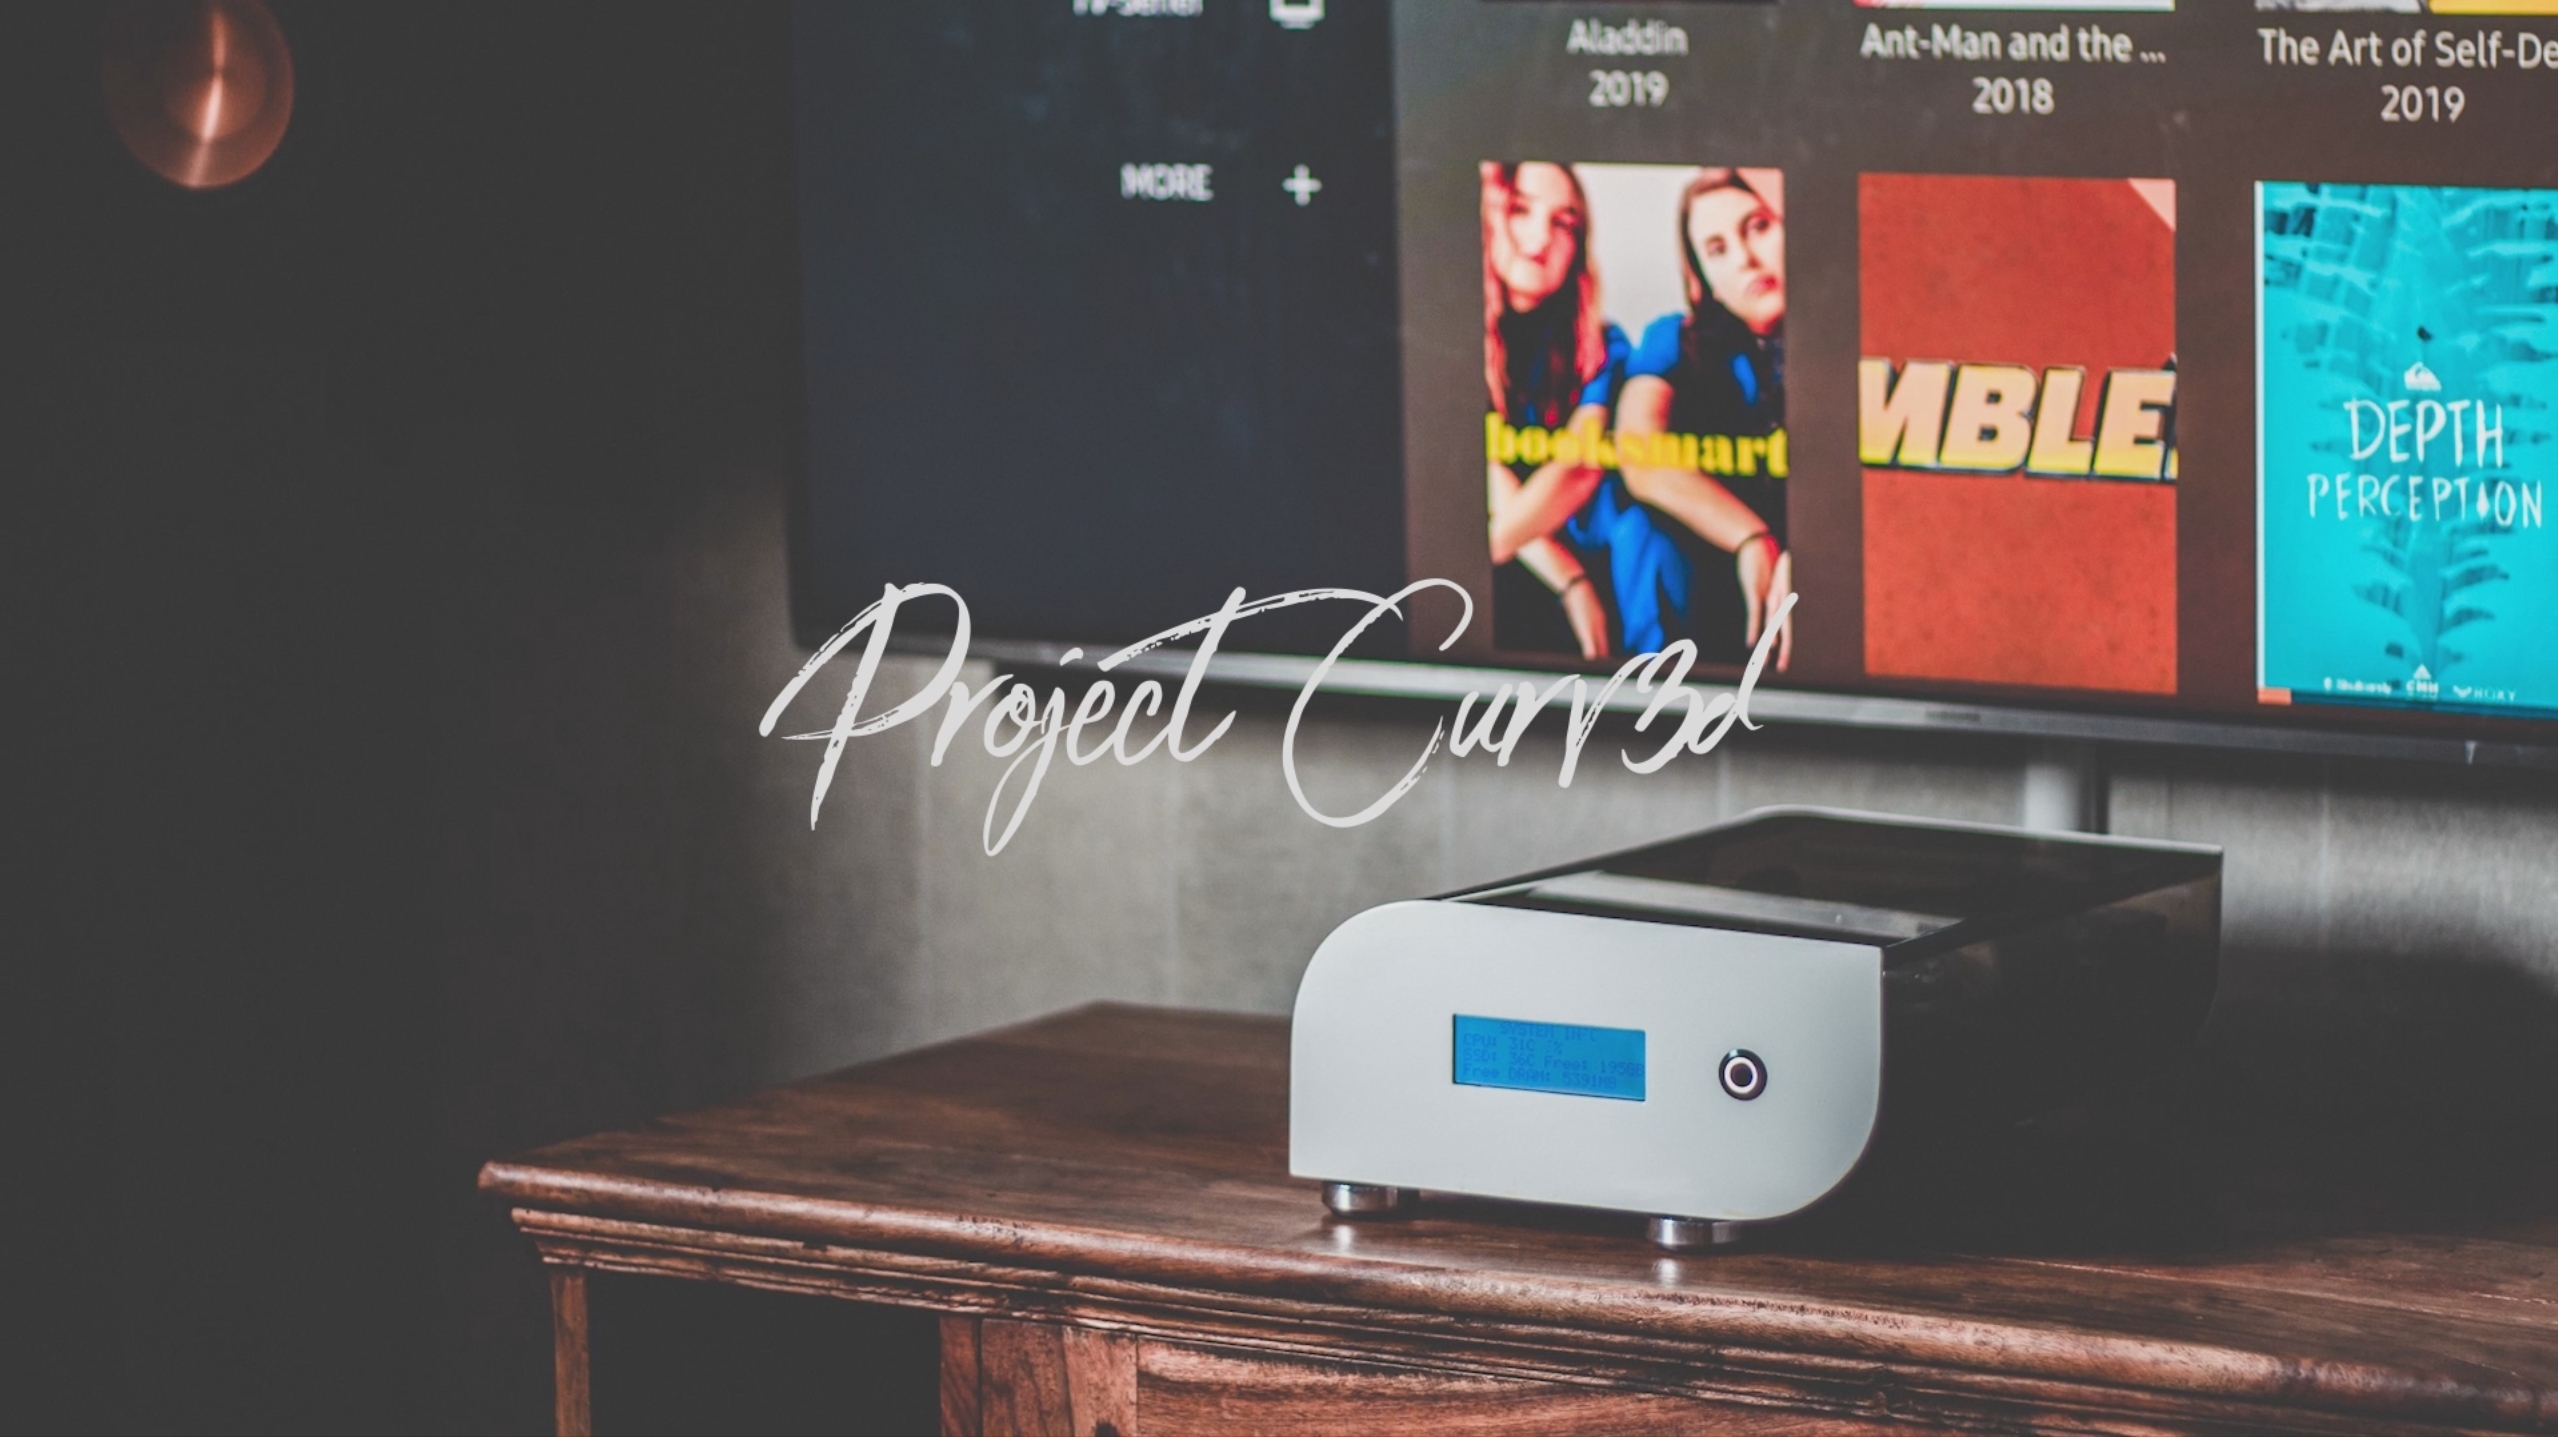
Same as on the versions before I will be using a 4×20 LCD in the front for showing temperatures and media info as this will be used in my livingroom hooked up to the TV. I will also be using a 16mm powerswitch so I had to drill and cut out holes for that. Same here, jigsaw, files and a lot of patience.
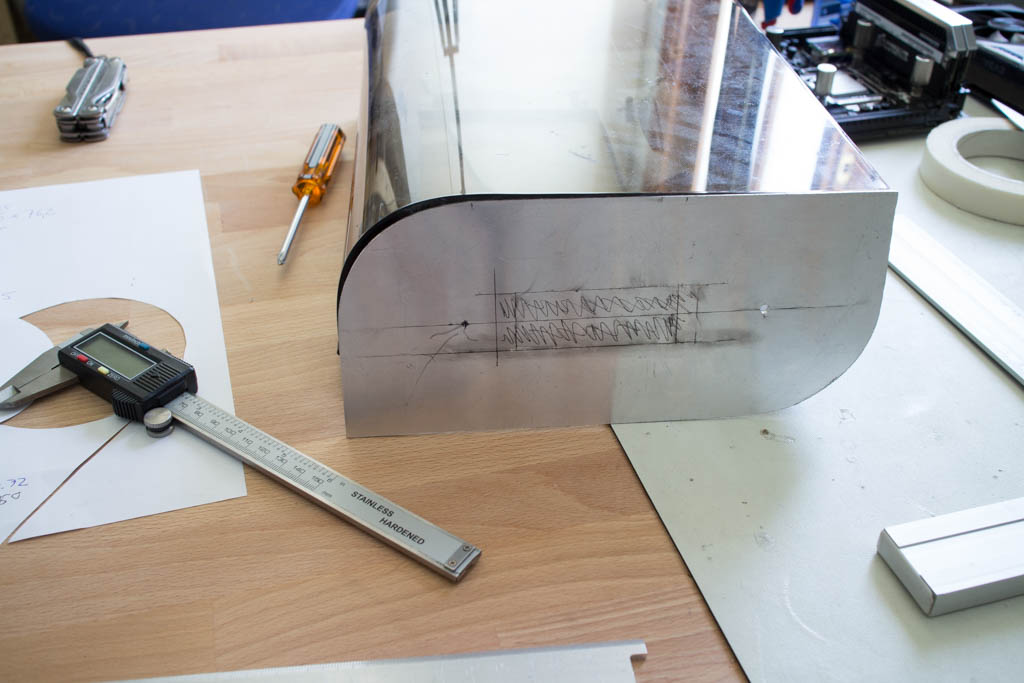
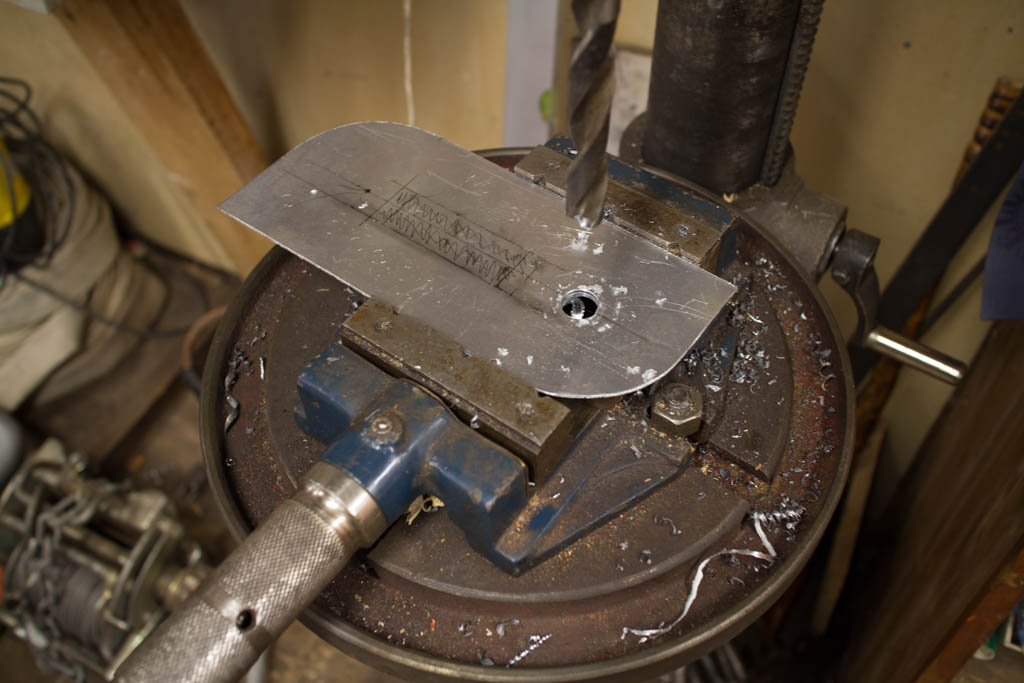
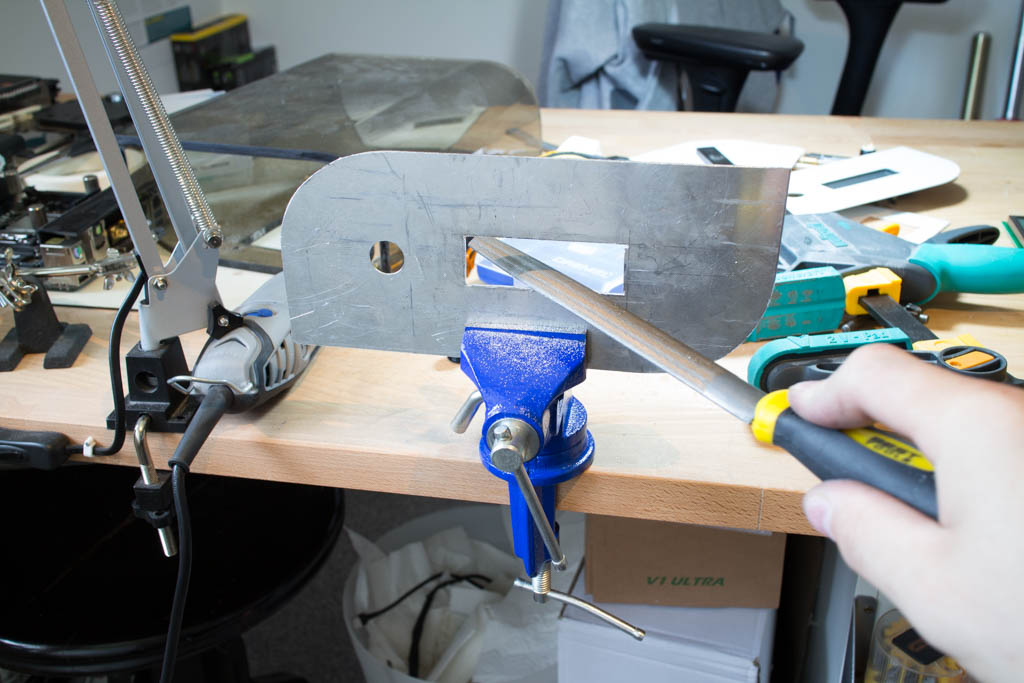
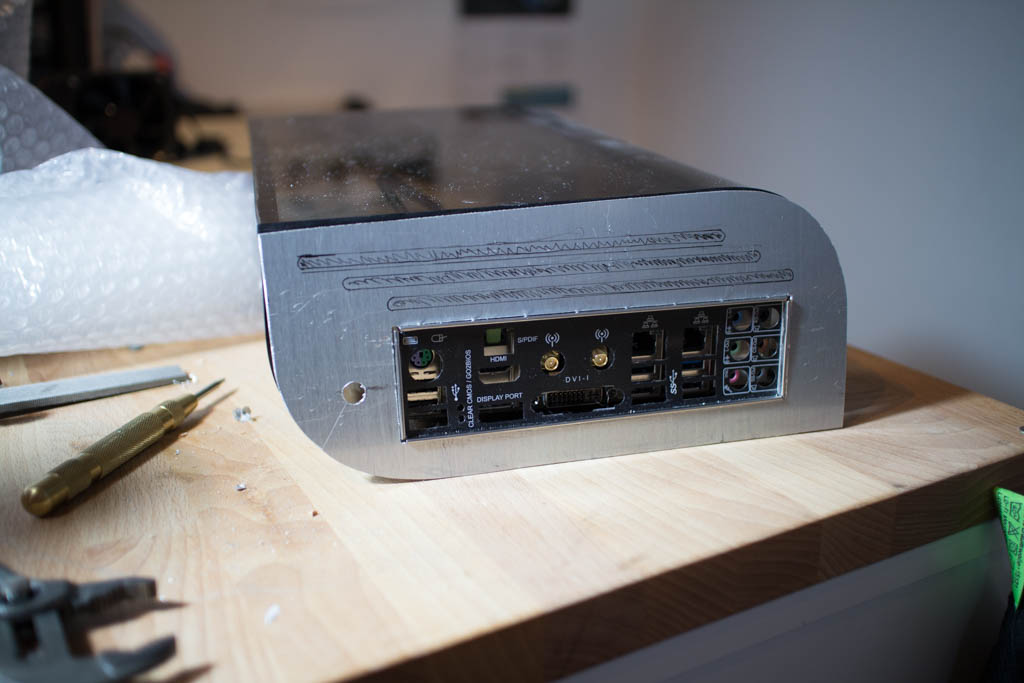
Last thing for this update is the backplate, same procedure as with the frontplate, measuring out the shape, cutting it out roughly with jigsaw and then filing it down to the perfect shape. I also cut out the hole for the I/O-plate and drilled the hole for the Pico-PSU. One new thing from the earlier versions is that I will be having some ventilation above the I/O-plate to be able to have hot air come out in the back.
By the next update that will be finished and some other things will be done as well, see you then!